
Elecraft KX3 is a fantastic portable transceiver but one thing I thought could be improved on is the front panel presentation by using a better stand to the stock, foldable legs.
The built-in foldable legs of the radio are a bit annoying to deal with as they require the user to manipulate the thumbscrews used also for holding the radio together. Because the thumb screws are opposing, this needs to be done in different directions when standing in front of the radio, not to mention that the front panel sits at too low of an angle for my taste.
I decided to design a lightweight stand that has small footprint, easily carried in the field and it can be assembled or taken apart in seconds. The goal is to give a good support for the radio without the need to completely unfold the stock legs.
The stand turned out to be a quick and fun half-day project.
Anyone who wants to play with this project can get it from TinkerCad

The two legs of the stand were designed with TinkerCad and then 3D printed.

All of the components for the stand - the 3 spacer rods (made from carbon-fiber arrow shafts) and the 2 3D-prineted legs.
The weight is exactly 2oz. but there is a room to shave off some of the weight (in the next version).

The tricky part is to get right the size of the main opening of the arrow-shaft receptacle. Arrow shafts come in different "spine" level (amount of flexing). This is controlled by the manufacturer with the thickness of the arrow-shaft wall or more specifically, the outside diameter - stiffer shaft (lower spine number like 350) will have a larger outside diameter than a 600 spine. Furthermore, when 3D printing, the plastic also shrinks as it cools so it takes some experimentation to get the size just right for a snug fit that will also afford smooth and effortless assembly / disassembly.

For the spacer rods I used scrap cut-offs from carbon fiber arrow shafts. These are very strong and lightweight tubes and as bonus they have quite nice smooth finish.
I have a whole bunch of these pieces in varying lengths leftover from sizing my kid's archery arrows.
Inside each of the arrow shafts I glued the same size neodymium magnets, making sure that the polarity is the opposite of the ones in the legs. The glue was applied on the perimeter of the magnet and then inserted into the arrow shaft, on a flat surface, making sure it is perfectly flush with the end of the tube.

The stand can be assembled together literally in seconds. The spacer rods just snap firmly in place and hold the entire stand together. Disassembling is just as easy by pulling everything apart.
The magnet-to-magnet attraction provides just the right amount of holding force without making it difficult to pull apart.

The original foldable legs of the KX3 can be unfolded ever so-slightly to lock the stand in place so the radio cannot move sideways. This is not really necessary as the stand's legs fit between the stock legs rubber booths, but it can provide additional support if needed.
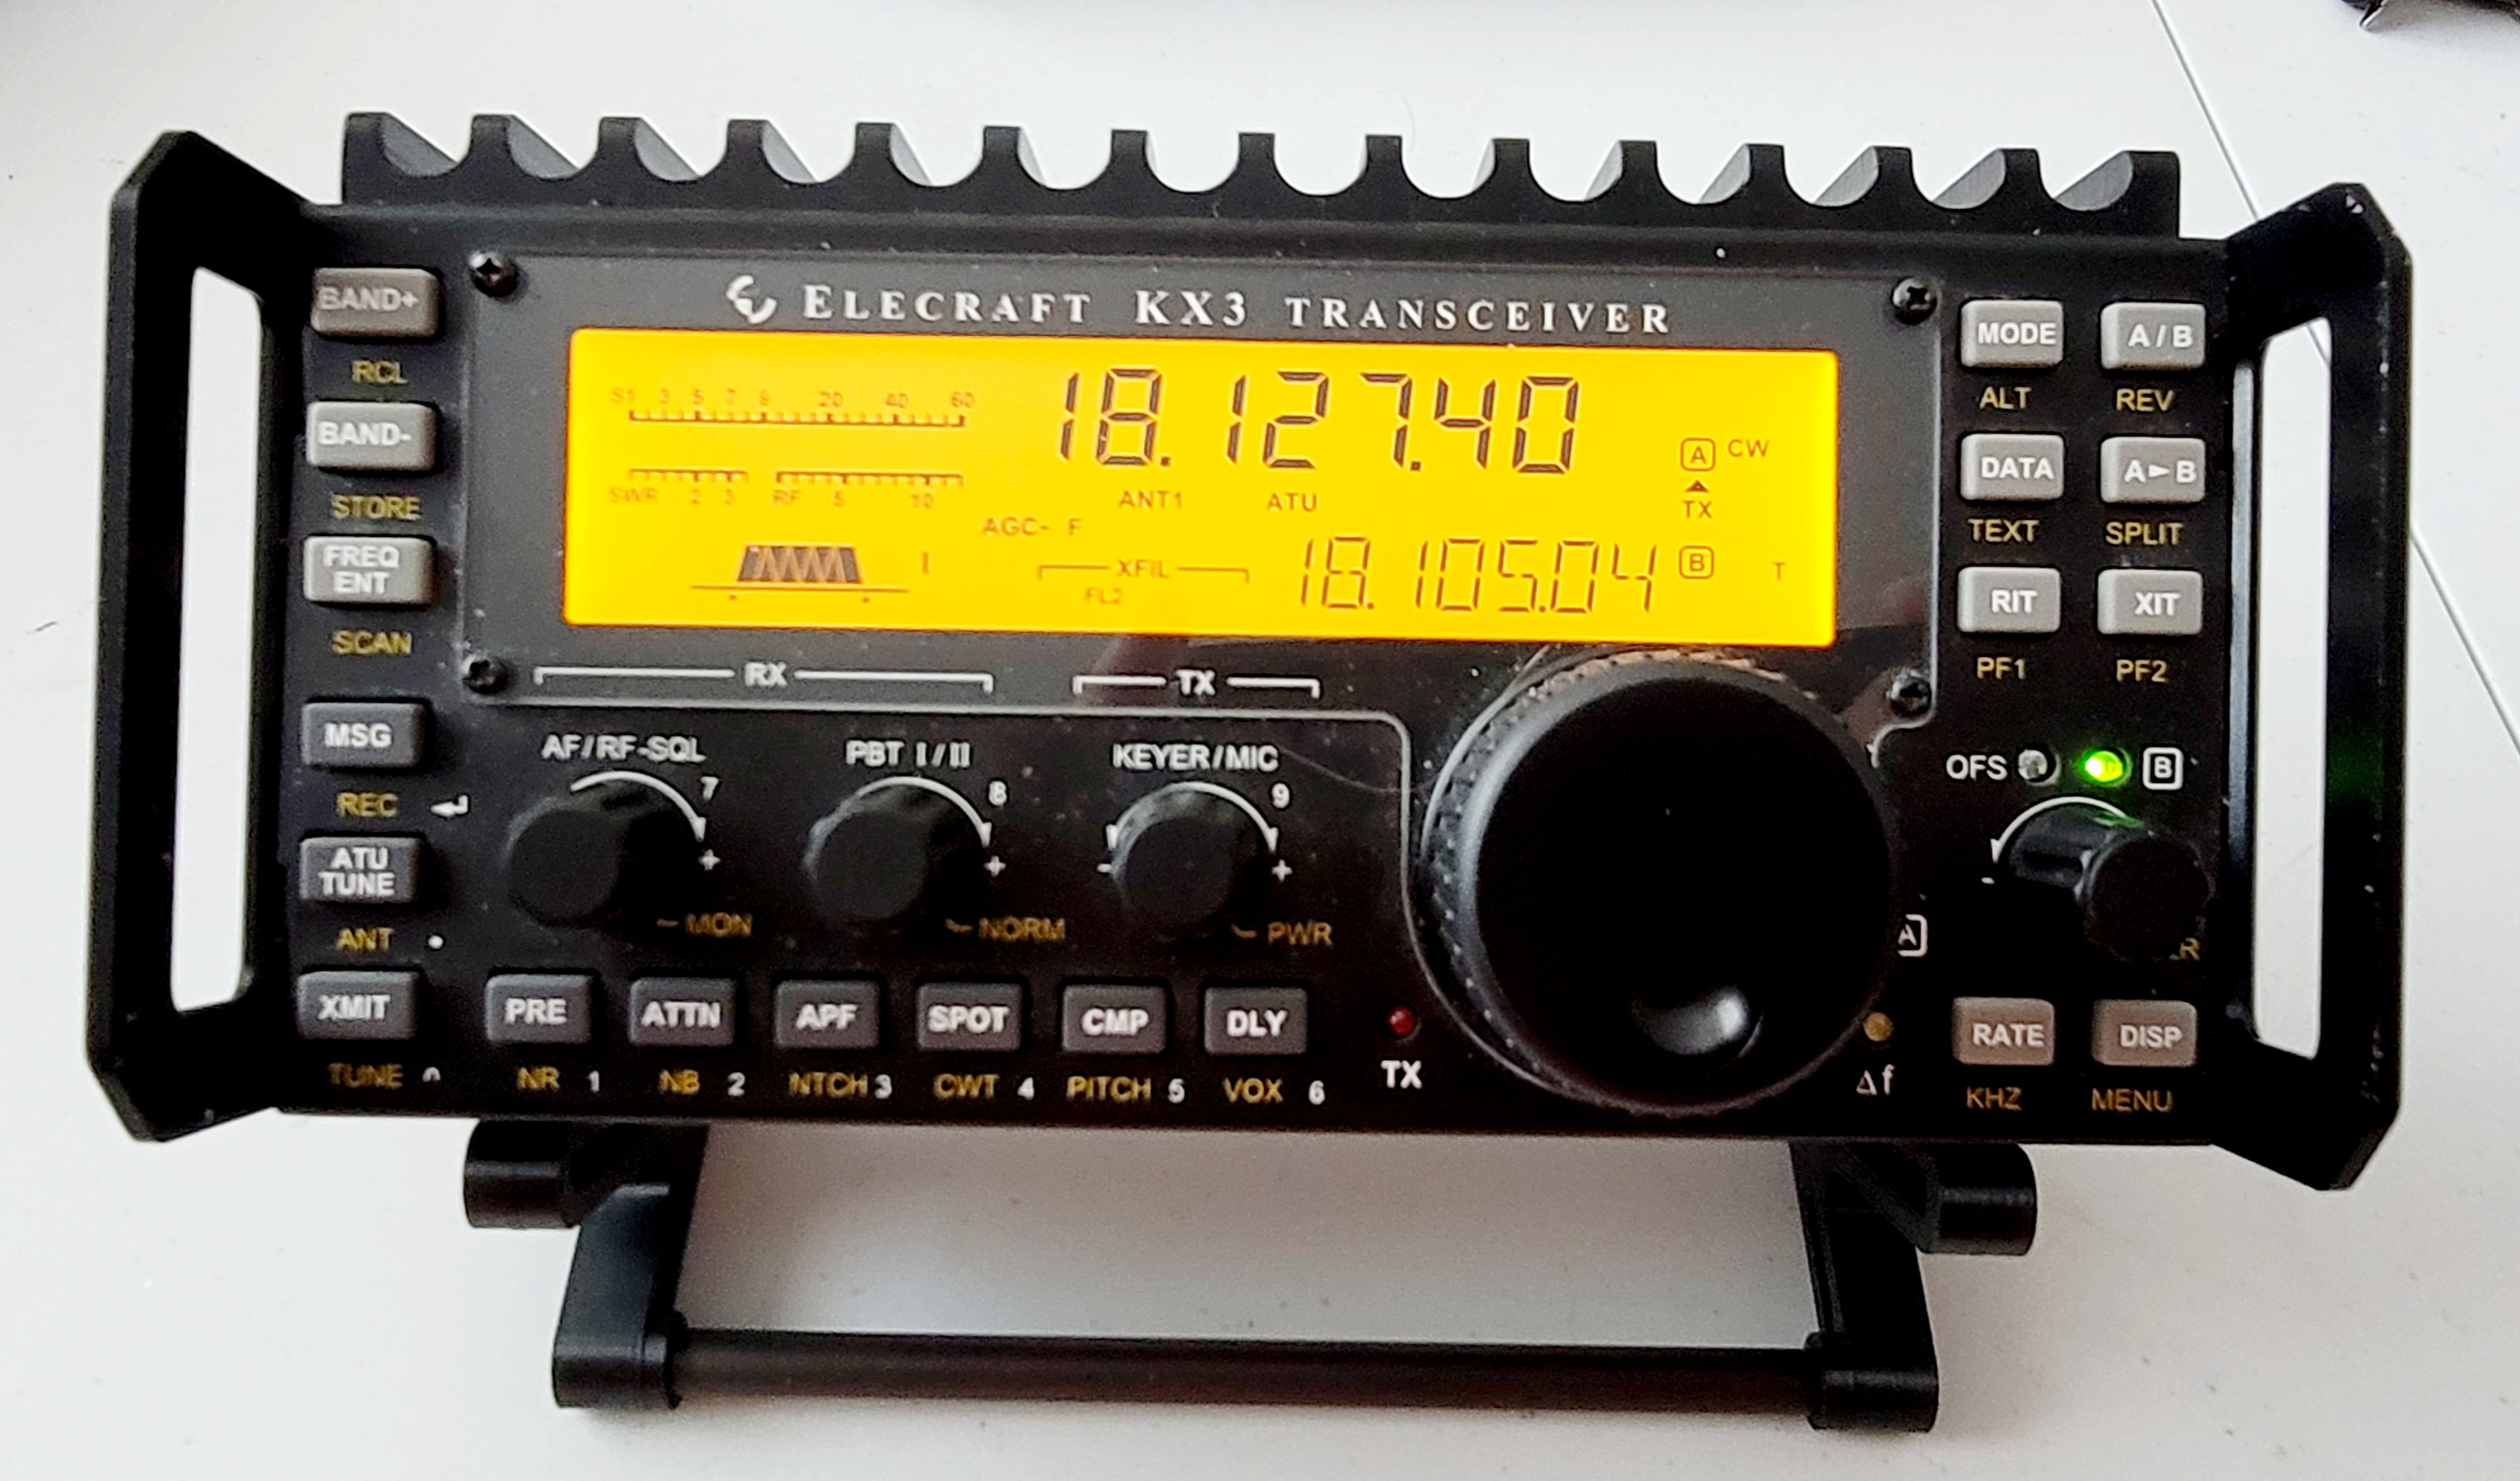
The angle of the front panel with the radio on the stand is not as low as with the original foldable KX3 legs.
The radio sits angled at exactly 45 degrees which I find to be more ergonomic - both, for viewing the display and operating the controls.
Short video of one-handed assembly of my KX3 stand.
A set of shorter rods can turn this stand into a PX3 stand (the KX3's Panadapter). This stand also works great as a portable cell phone stand, and I'll be making another one for use during my air travels or when using the cell phone for logging in the field.


No comments:
Post a Comment