
The exciter is the second main component of an XRF setup - this is the source of the primary X-Rays.
Two type of Exciters are generally used - X-Ray tube or Radioactive Isotope.
X-Ray tubes
Pros:
- provide high-intensity beam
- low limit of element detection
- easy on/off capabilities
- fast integration times
- fairly clean and uniform spectrum
- very small spot of irradiation / sampling
Cons:
- big, heavy, very delicate
- require additional cooling
- large, hazardous HV power supplies
- need for safety interlock system
- heavy beam collimators
- substantial shielding is required
- consideration must be made about beam scattering and reflection
- Not as portable
Radioactive Isotope source
Pros:
- smaller, lighter and simple to use
- 100% reliable
- very portable for field use
Cons:
- low intensity beam requires long acquisition times
- shielding is required as well a shutter-type on/off system
- highly regulated
- danger of contamination if source is damaged
- spectrum is not as clean and can contain various peaks
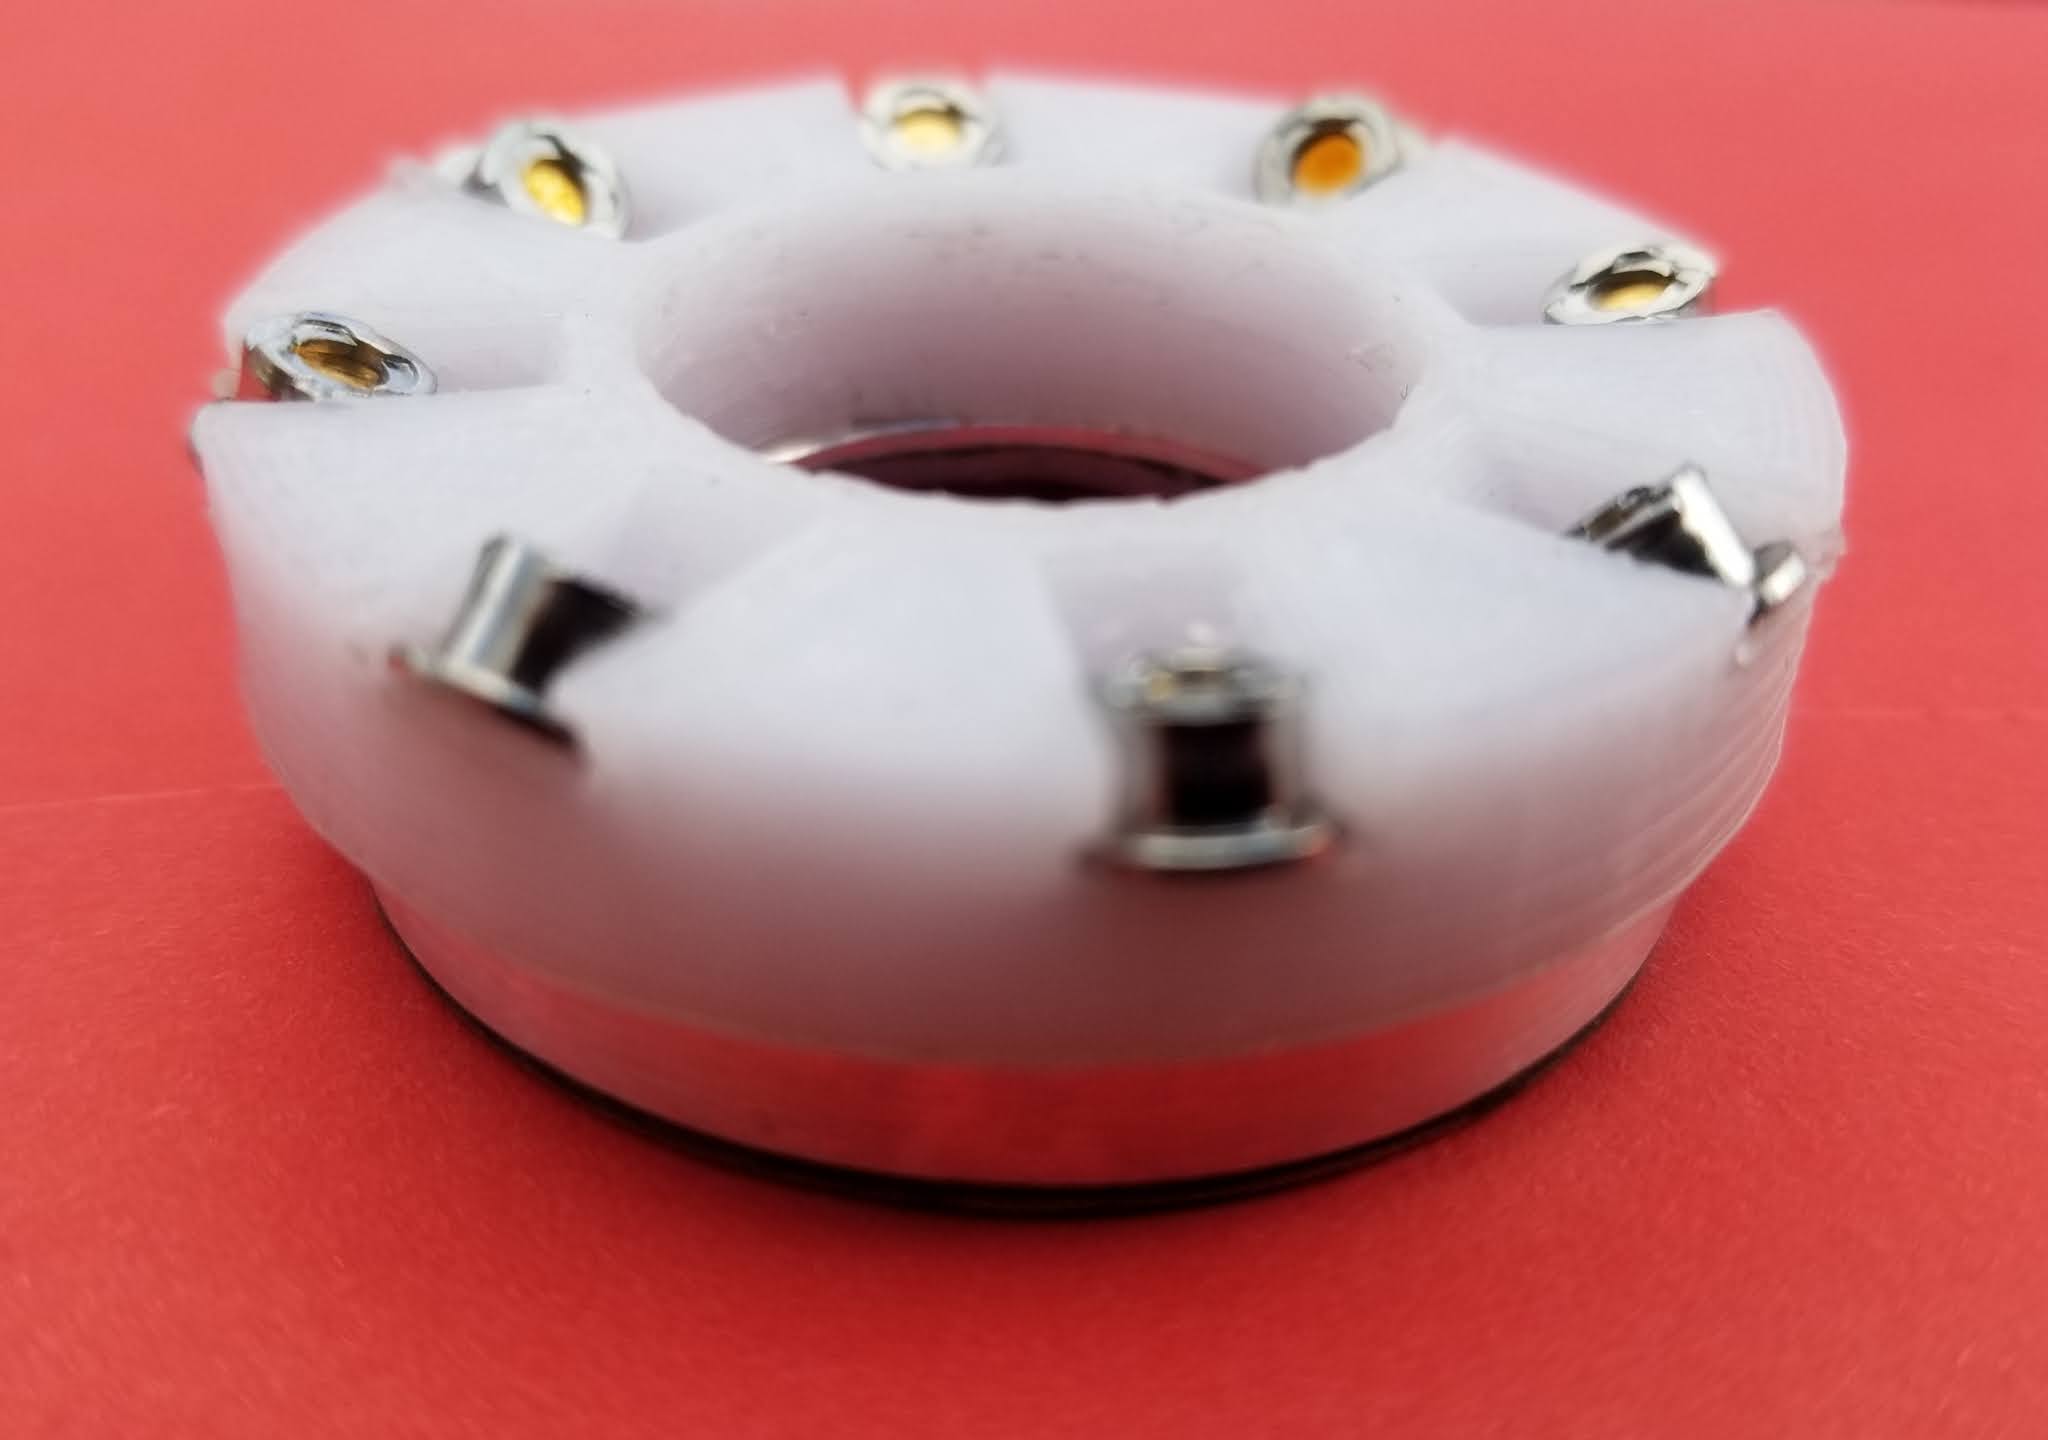
The holder of the exciter was designed with TinkerCAD and 3D printed


1 comment:
Very nice! Are the sources in your exciter Am241 from smoke alarms?
Post a Comment