I decided to rebuild my Lead Castle / Test chamber for Gamma Spectroscopy.
The old vertical Lead Castle was working great but after awhile it became evident that the design is not the most convenient one, especially if it is used often - every time I needed to access the test chamber, I had to partially disassemble and remove most of the lead modules (which are also quite heavy) and then put everything back together.
Horizontal design is a more convenient option and creates a more accessible test chamber on the expense of the desktop footprint.
I redesigned the castle so I can use some components from the old castle - the detector is also in a horizontal position and can stay in place while I am only manipulating the sample and the end-cap shielding.
There are 3 main shielding components - outer sleeve, inner sleeve and end-cap.
For the new design I reused the main shielding sleeve from the old chamber - 6" long Schedule 40 PVC pipe with 4" diameter. There is about 0.5mm of copper foil wound directly around the plastic form and almost 1" of Lead (rolled sheet with 1/8" thickness).
The whole package is tightly wrapped with duct tape. The overall outer diameter is 6".
The outer shield doubles the amount of lead around the test chamber and the detector's NaI(Tl) crystal in this configuration.
For the inner shield I used 12" long section of 2" copper pipe and wound 5 turns of 1/8" thickness Lead sheet. Again, everything is tightly wrapped and covered with duct tape.
The inner shielding is twice as long as the outer sleeve (12" vs 6") and shields the length of the entire detector assembly.
I built a special, custom wooden crate to hold the lead shielding. The base is made of 3/4" pine 6" x 16". The two sides around the large lead sleeve are glued and screwed with 2" 1/2 long decking screws to the base.
Two threaded rods, inserted in transparent vinyl tubing, together with washers and nuts re-enforce the top part, maintain the spacing of the sides while allowing the outer sleeve to be removed from the top after the inner sleeve is removed thru the front or the back. The front threaded rod (which also has a larger diameter) doubles as the front carry handle.
The rear portion is a boxed off extension and it has 3/4 pine raiser on which the inner sleeve lays on so it aligns with the outer sleeve. A second carry handle is attached to the top of this box.
Assembly takes place in reverse order. Outer sleeve is dropped from the top into place and then the inner sleeve is inserted.
The 6" long second box section sits on top of the base and the inner sleeve rests on it. It is attached to the base from the bottom side with the same long decking screws and wood glue. A 1" "lip" is left on the back to support a lead shield cap.
This is the end through which the GS detector is inserted and the detector position is adjusted inside the copper tube lining in order to place the front face of the crystal right against the sample.
The front end of the chamber with the inner sleeve nested inside the outer sleeve. The white front face of the detector is visible inside the copper lining.
The bottom of both compartments is lined with 1/8" rubber lining. The threaded rod on top is a structural components as the whole crate becomes very heavy (~65 Lbs.) and it acts as a handle as well.
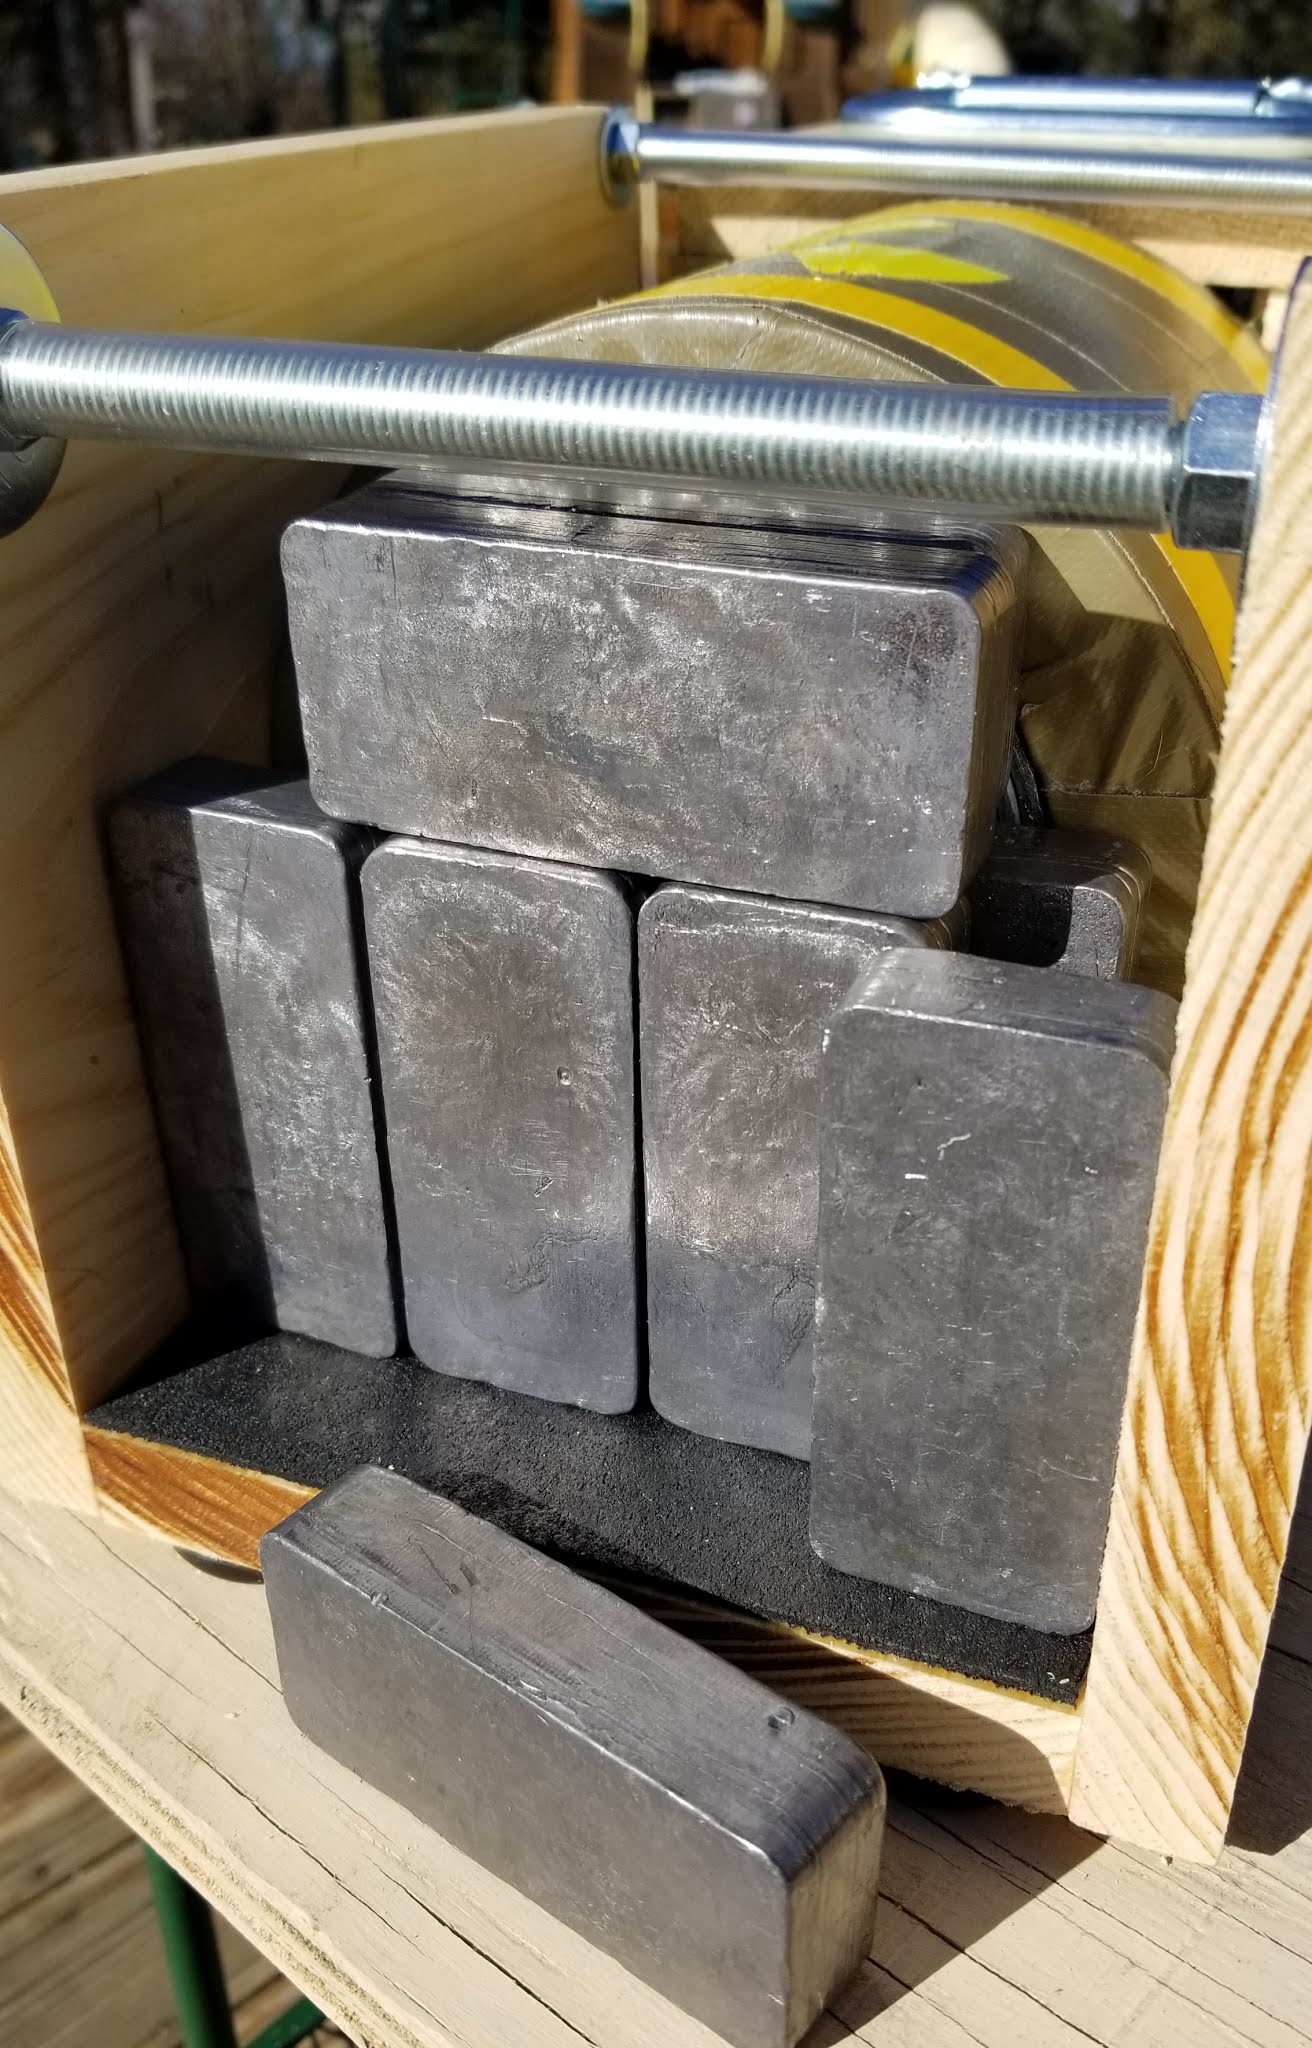
After the test sample is placed in the chamber, a cover made of 6"x 6 x 1/4" Lead plate and 6" x 4" x 1/8" copper plate (towards the chamber) is used to close the opening of the chamber and another 1.5" inches of lead bricks are stacked. The front lead cap on the detector side has an opening for the coaxial cable.
The complete lead castle (v2). 4 rubber feet are installed on the bottom of the base.
While this design puts slightly less lead (5-7mm less) around the crystal than the vertical design (with cast inner shielding), it is much more convenient to use and operate.
Two coats of polyurethane varnish as a finishing touch.


1 comment:
Very impressive set-up and blog in general. Would you be interested in testing a higher energy resolution SrI2-based detector? Please email me at info@capescint.com and we can discuss. Thanks! Ivan
Post a Comment